To install VirtualBox on Windows , you must first download the appropriate installation file for your host.
link:https://www.virtualbox.org/wiki/Downloads
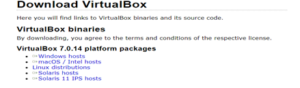
Download the windows host
Double-click the file to launch the VirtualBox Setup wizard.
Click Next on the first screen. This action tells the Wizard that you want to install VirtualBox.

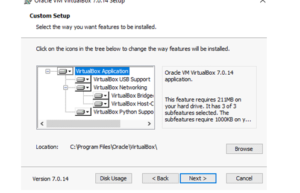
Do the following actions on the Custom Setup screen.
You’ll see a list of the features the Wizard will install. In this example, leave the default selection.
Browse and select the location you want to install VirtualBox in. The default location is fine, but feel free to change it if you prefer.
Click Next when you’re ready to continue.
On the next screen, you’ll see a warning about networking. The setup process will install a virtual network adapter, which may cause your network connection to disconnect momentarily. Click Yes to continue.
Finally, you’ll see a screen asking you to confirm the installation. Click Install to install VirtualBox on Windows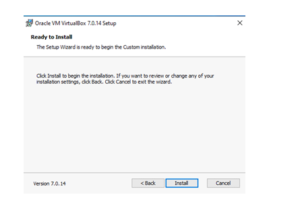
The installation process takes several minutes, depending on your system speed. Click Finish to close the Wizard after the installation and start using VirtualBox.
After you install VirtualBox on Windows , your can create your first virtual machine.
First, decide the OS which you want to install and download the iso image file.
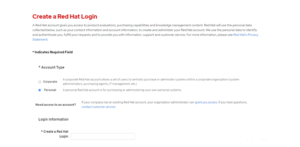
Incase if you want to setup Redhat VM, first create a Redhat personal account.
link:https://developers.redhat.com/products/rhel/download
select login–>Register–>

select as personal account and provide all the mandatory fields and select create account.
link:https://access.redhat.com/downloads/content/rhel
Login with the account created in the above portal and download the following iso image from the products section.

Creating Your First Virtual Machine

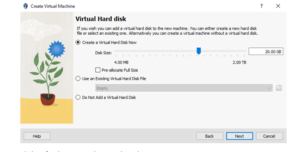
click the New button in the top-right corner of the VirtualBox window. This action brings up the Create Virtual Machine wizard. This Wizard lets you configure your new VM with the settings you want.
Select the iso image which we downloaded and provide a name for your virtual machine. Click on next

If required change the username and password and click next.
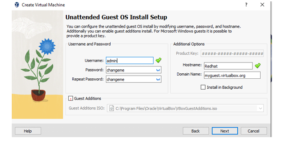
Since its an unattended installation we can continue with the default values else you have to change the values depending upon your requirement.
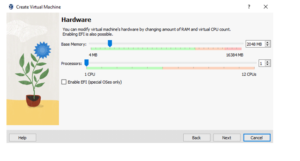
Click on finish to set up the virtual machine.

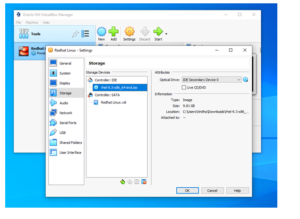
Select Redhat and then click on -> settings -> storage and click on controller:IDE select the iso and click ok
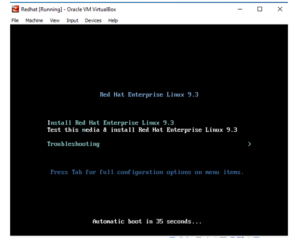
click on start to get into the virtual machine
press enter or leave for automaticboot
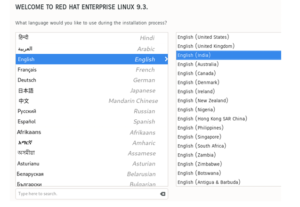
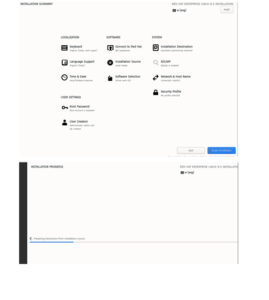
Select the language
Under system select Installation Destination
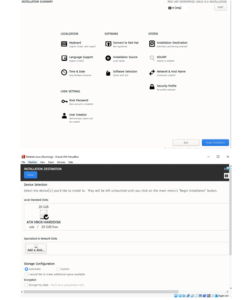
Under user settings select Root password and and then enter the password required and click on done at the top.

Under user settings select Create user and and then enter the username and password required and click on done at the top.

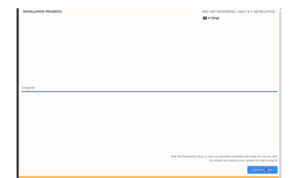
click on Begin installation.
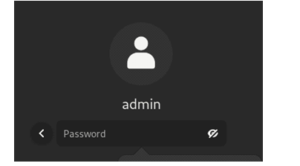
Login with the user account which you have created
click on activities and terminal

You can see the terminal page like this with the prompt, where we will be working on with the commands.